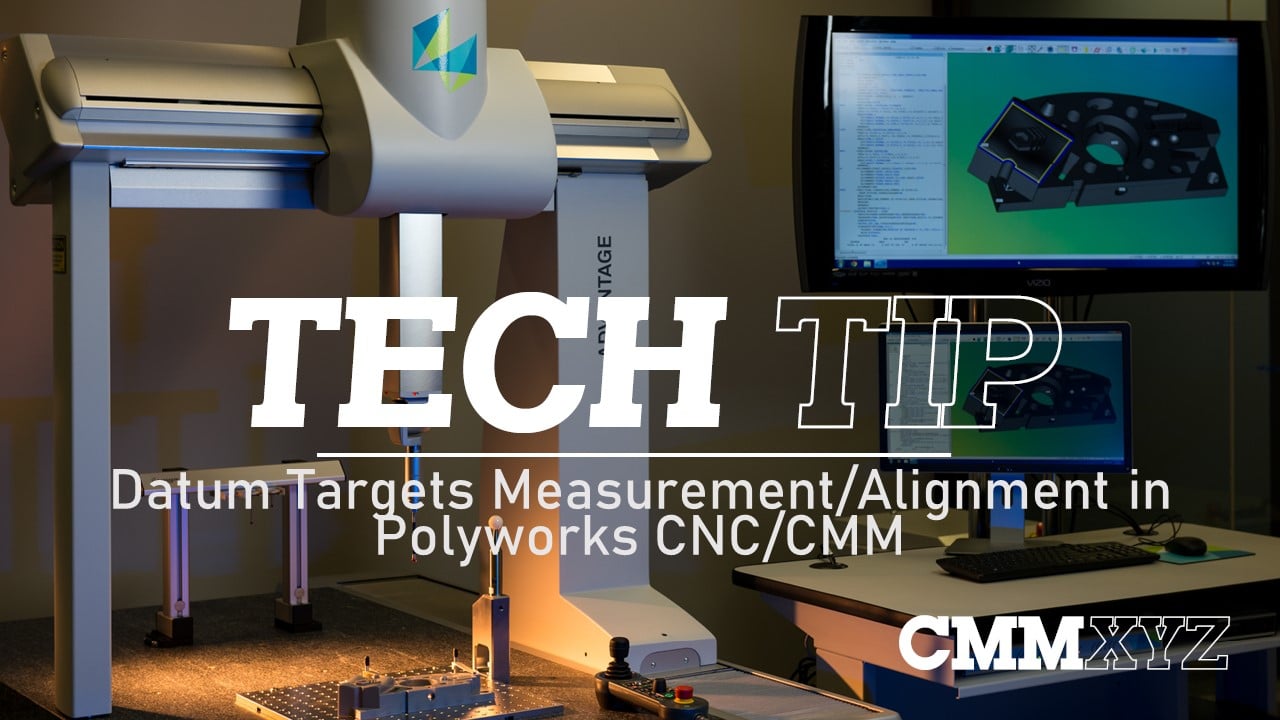
PC-DMIS Tech Tip: The Geometric Tolerance Command is a new to PC-DMIS 2020 R2. This new command features added support for modifiers, 5-segment composite controls and a more simplified Position report.
Click Here to learn more about our affordable Software Support Packages - the same group that makes these Tech Tips!
PC-DMIS 2020 R2 was just released and with it comes a new command called the geometric tolerance command. This will actually be replacing exact measure GD&T going forward. Let's go ahead and open a PC-DMIS program and I'll show you what's new.
Here we are in PC-DMIS and what I'll do is I'll use my surface profile dimension to illustrate some of the new changes in the geometric tolerance command. First thing you'll notice is the measured results are now shown in the edit window. Prior to this version, that was not the case. You either need to go to your report or open the status window like I have here. Also new to this version is a new tab in the setup options dialogue. If I open that up, you can see the new tab in the upper left, geometric tolerances. With this new tab, the user now has the option to choose the standard that is the default, ISO or ASME. We have option for math and also the option to display min/max for profile. By default, that is cleared. I'll check that and I'll show you what that looks like. Just keep an eye on my edit window and now we can see in the edit window the min and the max. We can also see that in the status window. That's a new option.
Let's take a look at the dialogue box for this new command. You can see it's given a new name, geometric tolerance. This is actually replacing exact measure going forward. Also added is support for up to five composite segments. You can see I can just click that and this is also true for position. Prior to this, I believe it was a three-segment support. The last thing I'll note with profile is the math has actually changed in this version. Prior to 2020 R2, we were using the 2009 standard math which actually added the min and the max to give you the measured result. You can see the comparison there to the ISO standard. Previous to this version, the ISO would multiply the max by two and give you the measured result. Now ASME, as of 2018 standard and the 2019 math standard, we apply the same math as ISO would apply. Without getting into too much detail, basically, now we multiply the max by two to get the measured result. So now ISO and ASME are pretty much the same there.
That's it for profile. Let's take a quick look at position and I'll show you some of the changes there. Here's a quick look at the new position reporting. You can see in our report window it is a much more simplified, straightforward position report. We no longer see the datum shift reported although this particular call out has datum shift. They removed that just to add a bit of clarity and remove a lot of confusion in the way datum shift was reported. So that's a good change in my opinion. The report of the position is actually similar to the legacy reporting in legacy dimensioning. You can see in my report window we now just show the TP axis for the measured result of position. Also note in my edit window the measured result is shown here in red because it's out of tolerance.
The last thing I wanna show you are changes made to how we create datums and new support for some of the more obscure modifiers. I'll show you that in a minute. Let's first take a look at how we create datums in this new 2020 R2 version. What I wanted to show you first is the new common datum checkbox. When I check that...this is the combined datum or the D-E. It's just a more intuitive way to do that. So I'll just check the box, select my two cylinders, as you can see in the graphics display window, and that's a quick way to do our common datum. Prior to this, it was sort of a kind of a mysterious way to do that and I...it's...I sometimes had trouble explaining how we did that the old way. It's nice to see that they've just added a checkbox. It's real simple to create, very...a lot more intuitive. The other thing I wanted to show you is how we create a datum of multiple features like my bolt circles for example. Now I can just highlight them all and give that a datum assignment. That's also new to this version.
Let's take a look at some of the new modifiers. First, what I'll show you is something called the dynamic profile modifier. We'll just pick scan one, pick a couple of datums. What they've done is added a checkbox. They didn't wanna include this in the regular interface. They've sort of hidden it in the background just to avoid confusion and also to simplify the layout. If we do check the box, we now have access to the dynamic modifier or the translation modifier. You can see it's actually not applicable in my case but I just wanted to show you how you would access that if your print did call for that.
Let's close this and I'll show you the tangent plane modifier. Let's do a parallelism call out of the side plane over here referencing datum C over here. Let's open parallelism and we'll define our datum first. Change that to C. And we'll dimension that. You can see there the T with those two arrows. I can now apply a tangent plane modifier. This is in the standard. It's been in the standard for quite sometime now. It's nice to see that they actually have support for that.
That's about it for this quick focus on the geometric tolerance command new to 2020 R2. I hope you found that useful and informative. Thanks for joining me and we'll see you next time.


